Installing OpenCV on Windows for C++
Updated
•2 min read
A
Connect with me on: https://asmit.bio.link/
OpenCV is a library of programming functions mainly aimed at real-time computer vision. OpenCV was built to provide a common infrastructure for computer vision applications and to accelerate the use of machine perception in the commercial products. Being a BSD-licensed product, OpenCV makes it easy for businesses to utilize and modify the code.
Here are the simple installation guide to install OpenCV on Windows:
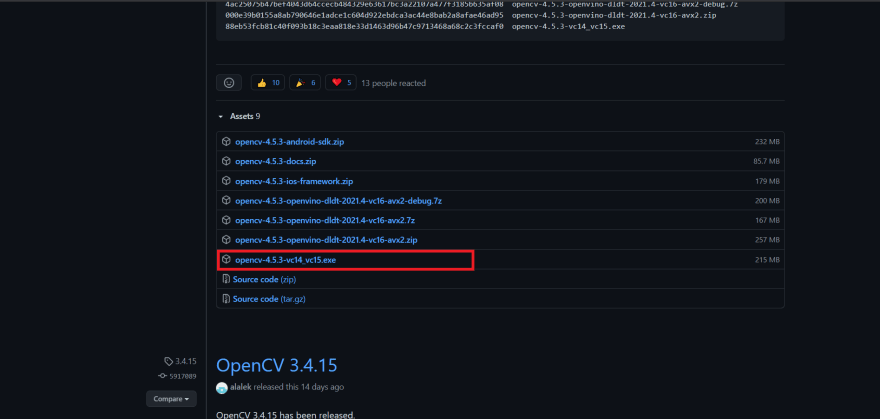
- Go to https://github.com/opencv/opencv and download the latest release. Extract files to local drive (eg : C)
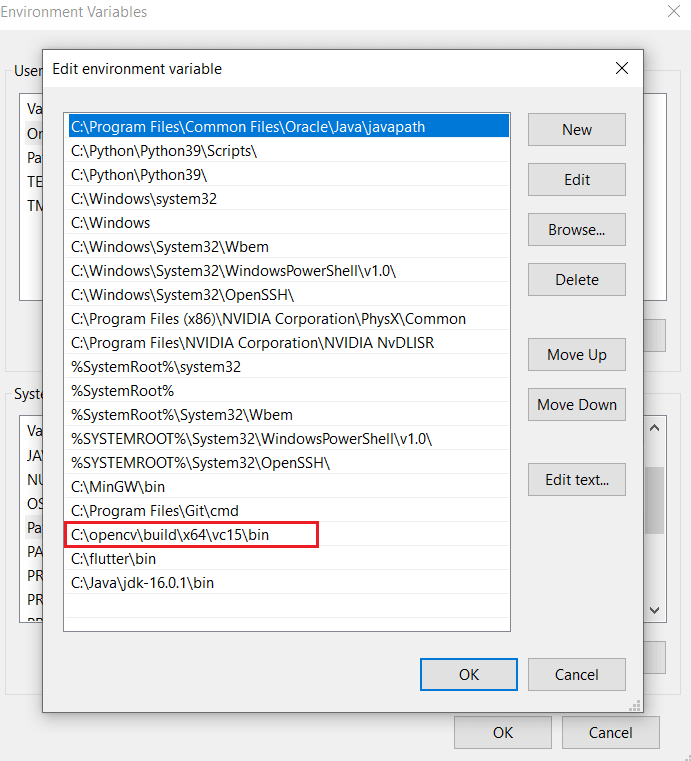
- Add bin folder to the Environment Variables path.
For eg:
C:\opencv\build\x64\vc15\bin
Create a New Visual Studio project C++ console.
Set the platform target to
x64

- Add Directories by going to:
Project->Properties->Configuration Properties-
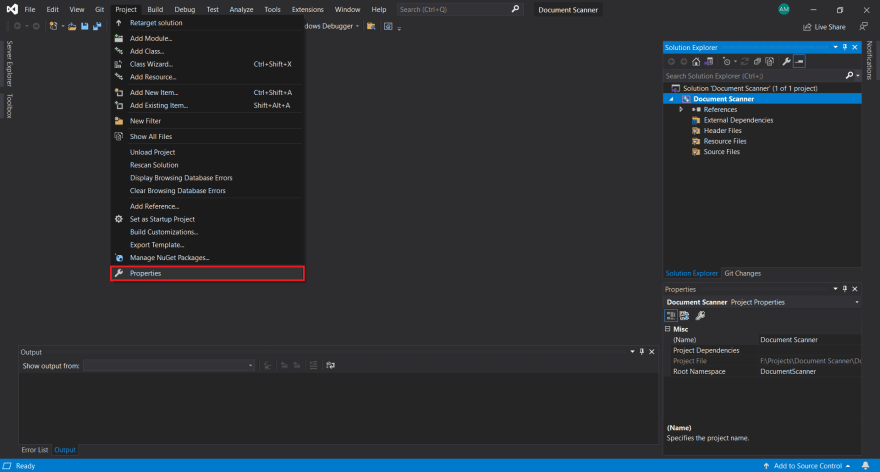
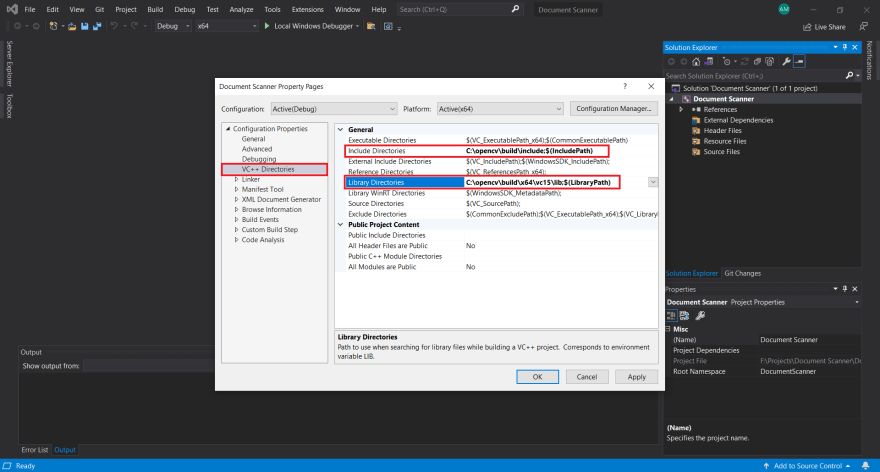
**VC++ Directories**
1. Add Build Directories: `C:\opencv\build\include`
2. Add Library Directories: `C:\opencv\build\x64\vc15\lib`
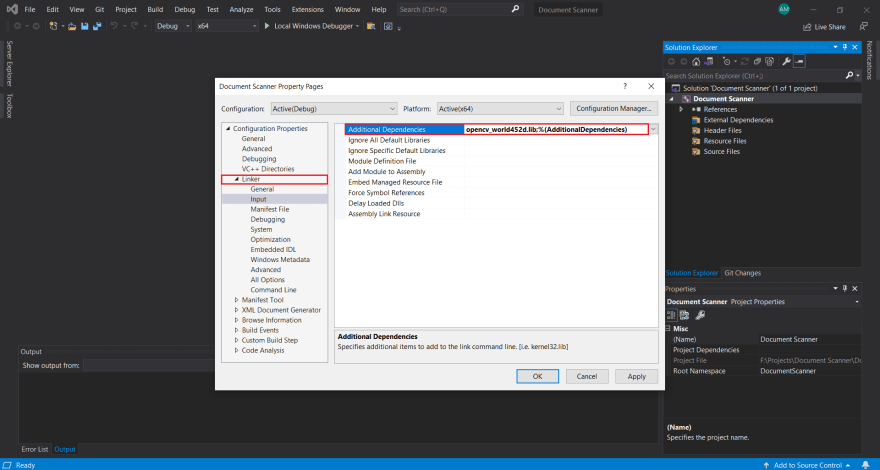
**Linker Input**
1. Add to Linker->Input: `opencv_world452d.lib` (`452` depends
   on your OpenCV version)
   `d` for debug, without `d` for release
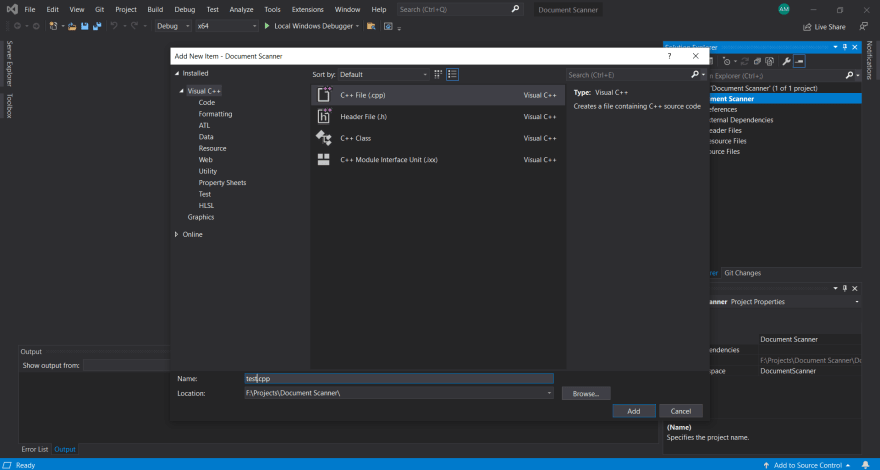
- Click on your Project name on right side in Solutions Explorer, and right-click on it to Add a New Item.
Select C++ File and rename it as test.cpp.
- Finally, you can run this demo code in your visual studio IDE to see if it’s all working fine.
    #include <opencv2/imgcodecs.hpp>
    #include <opencv2/highgui.hpp>
    #include <opencv2/imgproc.hpp>
    #include <iostream>

    using namespace std;
    using namespace cv;

    void main() {

        VideoCapture cap(0);
        Mat img;

        while (true) {

            cap.read(img);
            imshow("Image", img);
            waitKey(1);
        }
    }
- Your Output Screen should display your live Web-Cam feed.
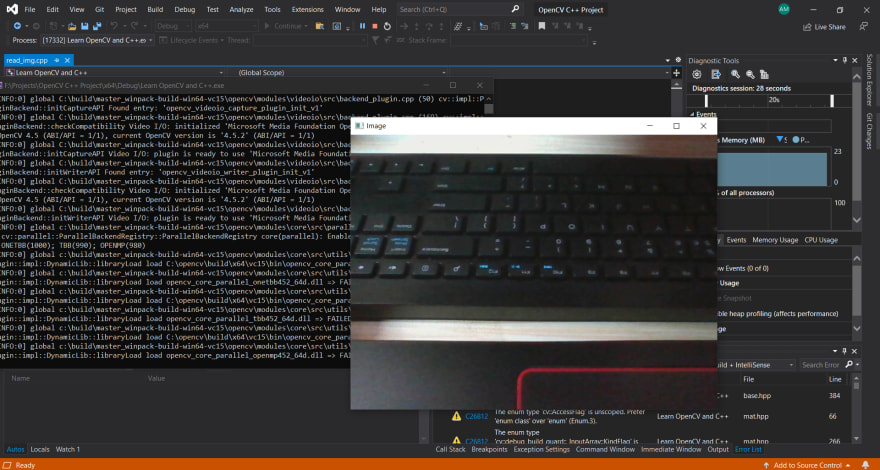
And that’s all, you can now use OpenCV with ease. 😉
For more install information, visit the OpenCV official guide.


